
Entity to Entity Mapping
Now using “Entity to entity mapping”, one can restrict accessing the products with respect to Offices or Roles.
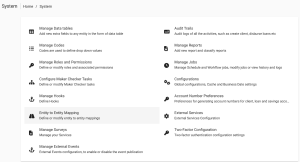
Beginning at the main screen, select Admin, then System from the drop down menu. This will launch the System menu.
Select Entity To Entity Mapping to set the preferences.
Offices –> Loan Products
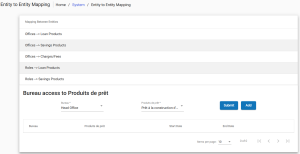
Setting up of Office access to loan products:
1) Click on “Office –> Loan Products“: Office access to loan products page would be displayed.
2) Click on “Field Office“: This displays the defined Office access to loan products.
3) Click on “Field Loan Product“: This displays the defined Office access to loan products. Then click on the Submit button. “Add” would be displayed.
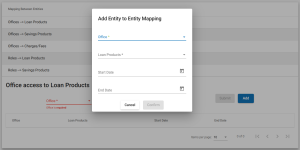
3) Click on “Add“: On clicking the Add button, it will display a page to Add New Entity Mapping as shown below.
Here, i) Need to select Office for which loan products should be accessed.
ii) Need to select the loan product for which selected office can be accessed.
iii) This is an optional field, Provided start date will be the effective access date for the mapped products.
iv) This is an optional field, Provided end date will be the ending date of the provided restricted access.
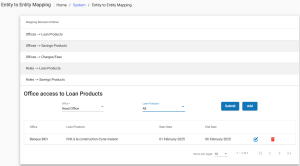
Then click on Submit. Now clicking on the Filter>>search button, you would be able to see added entity mappings.

Offices –> Savings Products
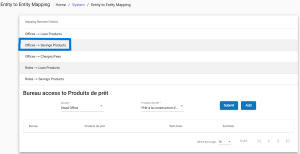
Setting up of Office access to savings products:
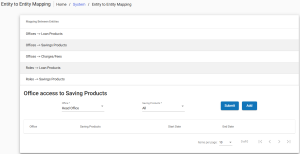
1) Click on “Office –> Savings Products“: Office access to savings products page would be displayed.
2) Click on “Field Office“: This displays the defined Office access to savings products.
3) Click on “Field savings Product“: This displays the defined Office access to savings products. Then click on the Submit button. “Add” would be displayed.
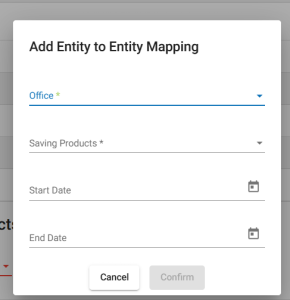
4) Click on “Add“: On clicking the Add button, it will display a page to Add New Entity Mapping as shown below.
Here, i) Need to select Office for which savings products should be accessed.
ii) Need to select the savings product for which selected office can be accessed.
iii) This is an optional field, Provided start date will be the effective access date for the mapped products.
iv) This is an optional field, Provided end date will be the ending date of the provided restricted access.
Then click on Submit. Now clicking on the Filter>>search button, you would be able to see added entity mappings.
Offices –> Charges
