
How to manage groups
Groups include more than one client and are created to provide Groups Loans, JLG loans and Group Savings to the whole group rather than a single client.
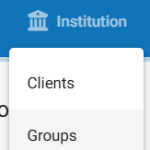
Beginning at the main screen, select institution then select Groups from the drop-down menu. This will launch the Groups page.

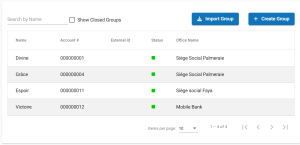
Create a New Group
From Phenix home page, there are 3 (three) ways of creating a group: Search Activities box, Institution drop-down menu, or via the Navigation bar.
- In Search Activities box, start typing the text create group. The field auto-populates. Press Enter. The Create Group page opens. Provide details in the following fields. Or
- Click Institution drop-down box. Select Groups. Click on +CreateGroup. The Create Group page opens.

Once the Create Group page opens. Provide details in the following fields taking note that the fields with asterisk(*) are mandatory.
| Field Name (Attribute) | Description | Example | Validations(if applicable) |
| Office | From drop-down menu, select the office to which the clients belong to in order to create their group. | ||
| Name | Provide the name for the group (Mandatory Field) | ||
| Staff | From drop-down menu select the available staff belonging to the particular office. | ||
| Add Clients | Allows you to select from a list of available clients | ||
| Active | Allows you to activate the group for specific date. | ||
| Activation date | Allows you to select a current or back date | ||
| External id | Provide External Id for the group | ||
| Submitted on | Provide the submission date of the created group. |
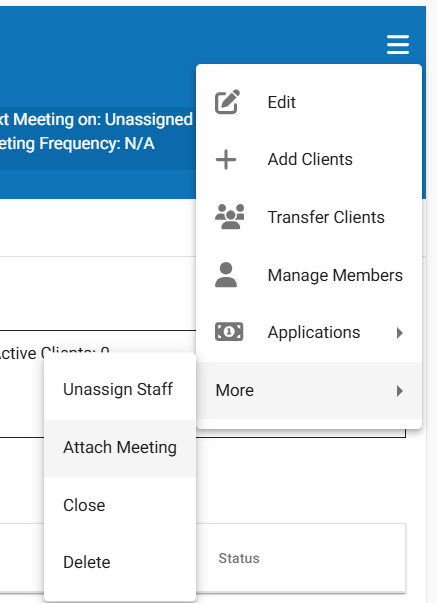
Once the group is created, the next step is to assign the meeting date to the group. To assign the meeting date, go to the group and click on the Hamburger menu, then click on “Attach Meeting Date” to see the following window:
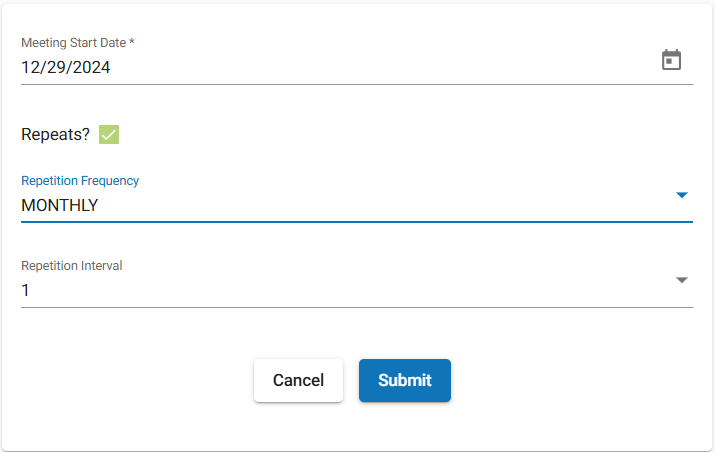
After that, the window of a specific group looks like the image below:

- As shown in the image above, the Group’s window displays:
i) The list of Clients in the group
ii) Group’s next meeting date, meeting frequency and meeting day.
iii) Group Activation Date, Staff and External Id
iv) Number of Active Clients, Active Group loans, etc.
Assign Staff to a Group
- From the list of existing groups, navigate to the group you want to assign staff to.
- From the More drop down menu, select Assign Staff. The Assign Staff page opens.
- Select staff from the drop-down menu.
- Click submit.
In the list of existing groups, navigate to the group you want to assign staff to.
In the hambuerger menu then in more , select Assign Staff . The Assign Staff page opens.
Select the staff from the drop-down menu.
Click submit .
You can associate a meeting with a group at the center or group level. Associating a meeting at the center level associates it with all groups in that center.
At the group level, navigate to the group. From the Group page, click the hamburger menu . Select the more option and then the Join a meeting option. Fill in the following information:
Tip: Meeting can be created backdated also.
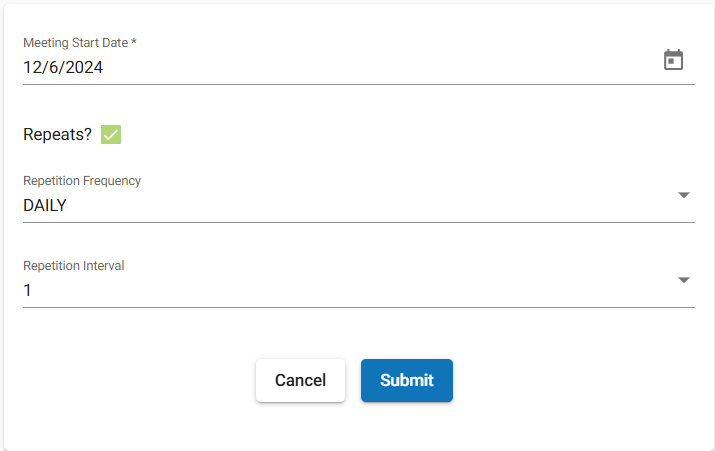
Example: showing attaching Daily meeting:
i) Provide Meeting start date
ii) Check the check box for Repeat if meeting is repeated with every provided schedule.
iii)Repeats: select Daily
iv) Repeats every: 1 day
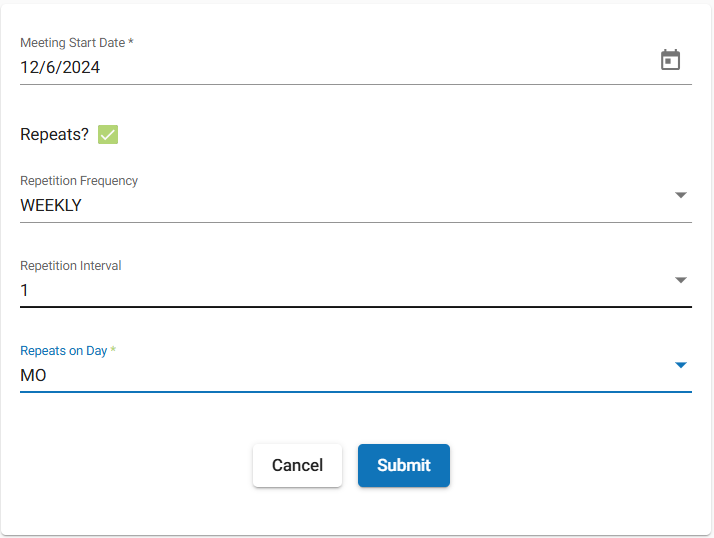
Example showing attaching Weekly meeting:
i) Provide Meeting start date
ii) Check the check box for Repeat if meeting is repeated with every provided schedule.
iii) Repeats: select Weekly
iv) Repeats every: 1 week
v) Select Day on which meeting should happen.(In the example below, it’s on Wednesday)
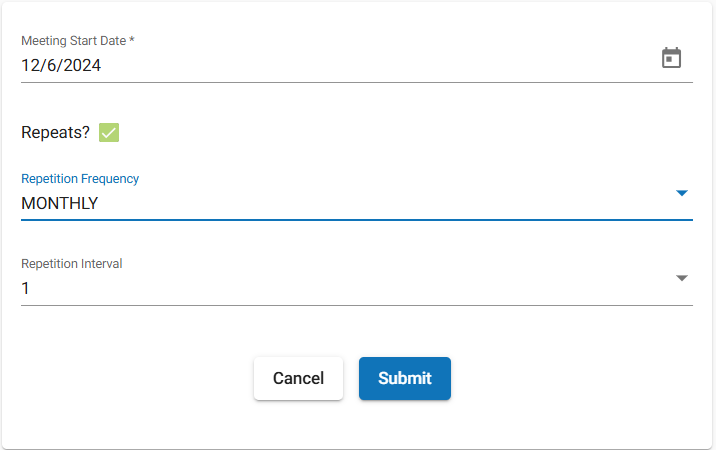
Example showing attaching Monthly meeting:
i) Provide Meeting start date
ii) Check the check box for Repeat if meeting is repeated with every provided schedule.
iii) Repeats: select Monthly
iv) Repeats every: 1 Month
Sync Meeting Dates with Repayment Schedule
- Navigate to the group you want to sync meeting dates with repayment schedule.
- In the Group page, click the hamburger menu plus Applications>> Group Loan Application.
- Select the loan product from the Product drop-down menu. The product list choices depend on ??. Selecting the loan product enables other fields on the page.
- Click the Submit button.
Sync meeting dates with disbursement schedule
